 I can’t deny my Brazilian heritage! I can’t believe it took me so long to share with you my favorite treat that’s gaining popularity in the U.S. (You can find pão de queijo—traditional Brazilian cheese rolls–in some supermarkets around America). These delicious treats are sold in every corner of Brazil and Brazilians grow up learning how to cook these delicious rolls with our mothers and grandmothers. They have been part of our culinary culture forever!
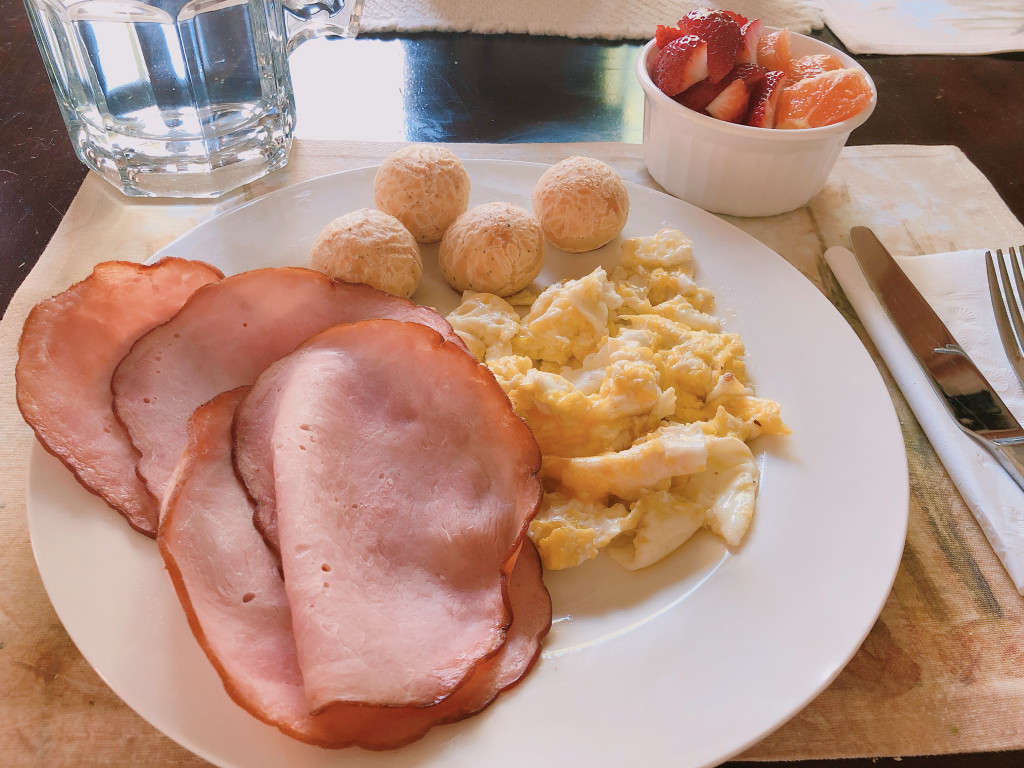
I’ve been eating pão de queijo my whole life and ever since moving to America, We have created the habit to have them as treats every weekend for brunch (breakfast for my family). Since I like to make my life simple when cooking, I have adapted the original recipe to prepare these rolls faster.
This recipe calls for cheese, but you can remove the cheese to make it dairy-free and it will still taste delicious!
Ingredients:
1 1/2 cup tapioca starch
1 egg
1/3 cup ghee (melted)
2/3 cup full fat coconut milk (or 1/3 cup whole milk for the dairy tolerant people out there)
1/2 cup grated parmesan
cheese (or you can skip this if you are dairy intolerant)
1 1/2 teaspoon Celtic sea salt or pink Himalayan salt.
**for a bonus, try adding 1/4 tsp. Garlic powder, oregano, thyme or any other herbs you’d like to give it a different unique taste!
Directions:
Preheat the oven to 400 F.
In a large bowl, add all ingredients together and mix till well combined ( the dough is supposed to be soft and sticky).
Add some ghee to your hands to help shape the though into balls without it sticking to your hands, scoop the batter out with a spoon and roll the dough into a tiny bit smaller than a golf-ball size!
Place the balls in a baking sheet covered with parchment paper.
Bake for 20-23 minutes, or until they are golden and puffed!
Serve them warm and enjoy!
You can also freeze them for up to 3 months. To do so, after you place them on the baking sheet, bring them to the freezer until they freeze. Once frozen, transfer them to a ziplock bag. You can keep them in the freezer for uo to 3 months! (I must confess, they never last in this household). Once you are ready to serve them, preheat the over to 400 F, and bake them for 25-30 minutes or until golden and puffed.
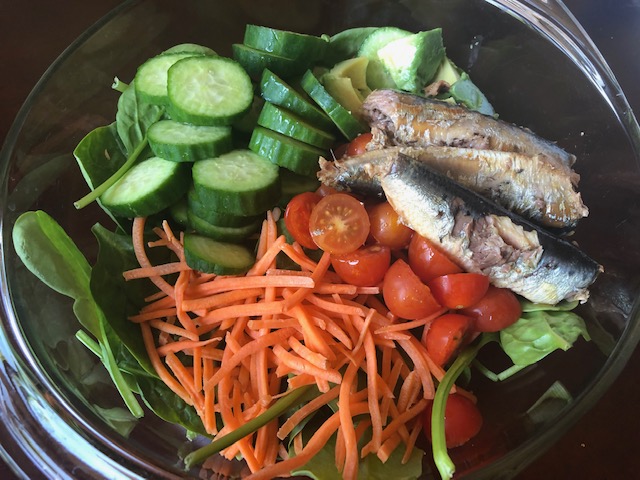 During Spring, I love adding lot’s fresh vegetables and spring fruits back into my diet. The warmer weather means enjoying lots of salads, juices, smoothies and freshly made meals outside. Dinner today is light, easy to make and deliciously fresh: colorful salad with canned smoked sardines (from Wild Planet—all their products are sustainably caught), avocadoes, the juice of a lemon, salt and pepper! So easy and yummy!